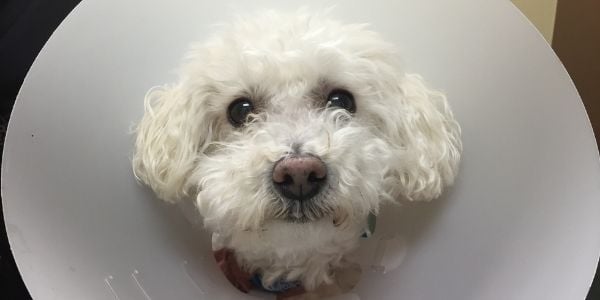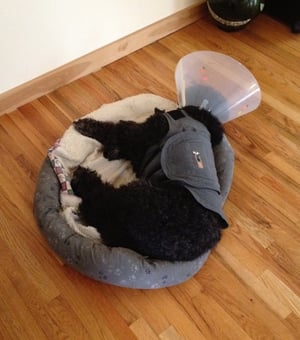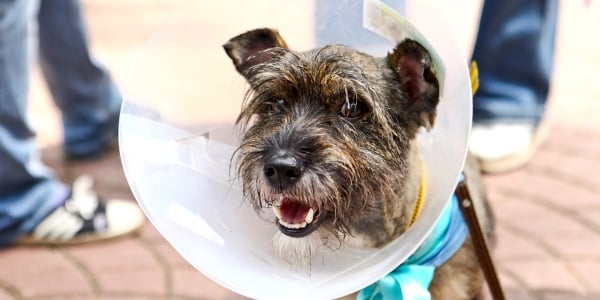
Memes abound of pups wearing the dreaded "cone of shame" after surgery.
While it might be quite entertaining for us humans to watch our dogs try and maneuver with a lampshade on their heads, it can be pretty stressful for them.
Simple things like eating food or drinking water are more complicated, and their vision and hearing are different while wearing an e-collar*.
Some dogs take wearing a cone in stride. For others, the increased difficulty of movement, change in hearing and vision, paired with feeling a bit "off" while medicated, can really stress them out.
If you take off their cone for mealtimes, you might notice that they run the other way when you grab it or spend a lot of time trying to wiggle out of it or paw it off.
If you take some time to teach your dog some body awareness and how to move while wearing their e-collar, you'll save your furniture and knick-knacks from being knocked all over the place.
 Stress makes it harder for your dog's body to recover1 after surgery or trauma, so the less stress, the better!
Typically, a dog will need to wear their cone for 10 to 14 days after a spay or neuter surgery — but will need it for much longer (6 to 12 weeks) for orthopedic surgeries.
With some simple conditioning, it will be much easier for you to put the cone on and take it off your dog throughout their recovery. This might be post-op, after a spay or neuter procedure, or after an injury.
Or you may use a cone on your dog to help prevent licking or chewing due to itchy skin or to protect a healing hot spot.
It's easy to help your dog feel more comfortable wearing a cone! If you know they have surgery coming up soon (such as a spay or neuter), ask your veterinarian for a cone to use for training a few weeks ahead of time.
*E-collar in this case stands for Elizabethan collar, not to be confused with an electric or static shock collar (often also referred to as an e-collar). The cone got this name as it resembles the ruffled neckwear worn during the Tudor period.
Introducing Your Dog to the Cone in 6 Easy Steps
What You'll Need:
- Some delicious dog treats, pea-sized or smaller
- The cone
-
Hold the cone, or place it on the ground in front of you. Do not try and put it on your dog in any way. Reward with a treat any time your dog shows interest in the cone. Any time they sniff, touch it with their nose, or even look at it, praise and give a treat. Keep this session short and fun.
Repeat as necessary until your dog shows no fear or stress when in the presence of the cone. -
Now hold the cone with the wide opening facing your dog (backward as far as the dog is concerned). Praise and treat for any head movement into the cone area by your dog.
If your dog is tentative about putting their head into the cone space, that’s okay! Just go slow and reward for small increments. Repeat as necessary until your dog is comfortable with placing their head in the wide opening of the cone.
You can encourage this by luring your dog. Place a treat in your hand and reach through the neck opening of the cone to entice them to follow. -
Switch to presenting the cone with the small opening facing your dog (the correct way) — praise and reward for any movement they make to put their nose through the opening.
You can encourage them by luring with a treat in your hand, reaching through the opening, and having them follow it through as you pull it back towards you. Repeat as necessary until your dog is comfortable placing their head through the smaller opening. -
Start to add duration. Praise and reward your dog for keeping their head in the cone longer and longer. You can start to clip the collar closed, reward, and then immediately unclip.
-
Continue to increase the duration your dog is wearing the cone. Add in rotating the cone around their head while they’re wearing it. Reward heavily throughout.
Add gently tapping on the cone to the routine on the inside and outside, which helps your dog get used to the different sounds they will hear while wearing the cone. -
Walk around with your dog while they’re wearing the cone to help familiarize them with the environment and learn how to maneuver with it on.
Encourage them to keep their head up while walking to avoid catching the cone on the carpet or floor. Help them move through doorways and around corners so they can acclimate to the different movements.
Watch this video to see these steps in action as I introduce the cone to Clover the Portuguese Water Dog (to prepare her prior to her spay surgery):
Keep each session short and sweet, about 3 to 5 minutes long. Or you can count out a certain number of treats (20–30) and end the session after you've used them all up. The goal is for your dog to view the cone as something neutral or positive — not something to be scared of or run away from.
By pairing it with fun, food, and praise, you prevent the cone from becoming an additional stressor on your dog during their recovery.

The stiff plastic e-collars can be tough to assemble, even if you've done it before! Watch this video for step-by-step instructions on how to put the cone together:
Did you know that you can also help your cat get used to wearing a cone? If you have a cat, check out our article Your Cat in a Cone: Elizabethan Collar Desensitization to see how to go about it!


